
I know you might be thinking what does this have to do with wedding planning? I figured if you are going to have your ring bearer holding a pillow, why not have a fancy and cheap one? The best part is that you can reuse it in your bedroom after the wedding.

Materials Needed:
1. Fabric: I used a curtain I got on sale at Target for less than $2.00.
2. Fabric for flowers: I trimmed out the excess from another project I had going on.
3. Pillow: Free
4. Safety Pins:
5. Rubberband: I used a hair tie
6. Hot glue gun
7. Scissors
Total for the No Sew Pillow Project: under $2.00
I already had the other materials not to mention the free pillow!


1. Get all your material..sorry I didn't take a picture of all the material but the list is above.
2. Cut the fabric with enough length to cover the pillow half way, length wise. Width wise cut about an extra inch or two. ( Sorry for the vague measurements, it would depend on the size of your pillow)
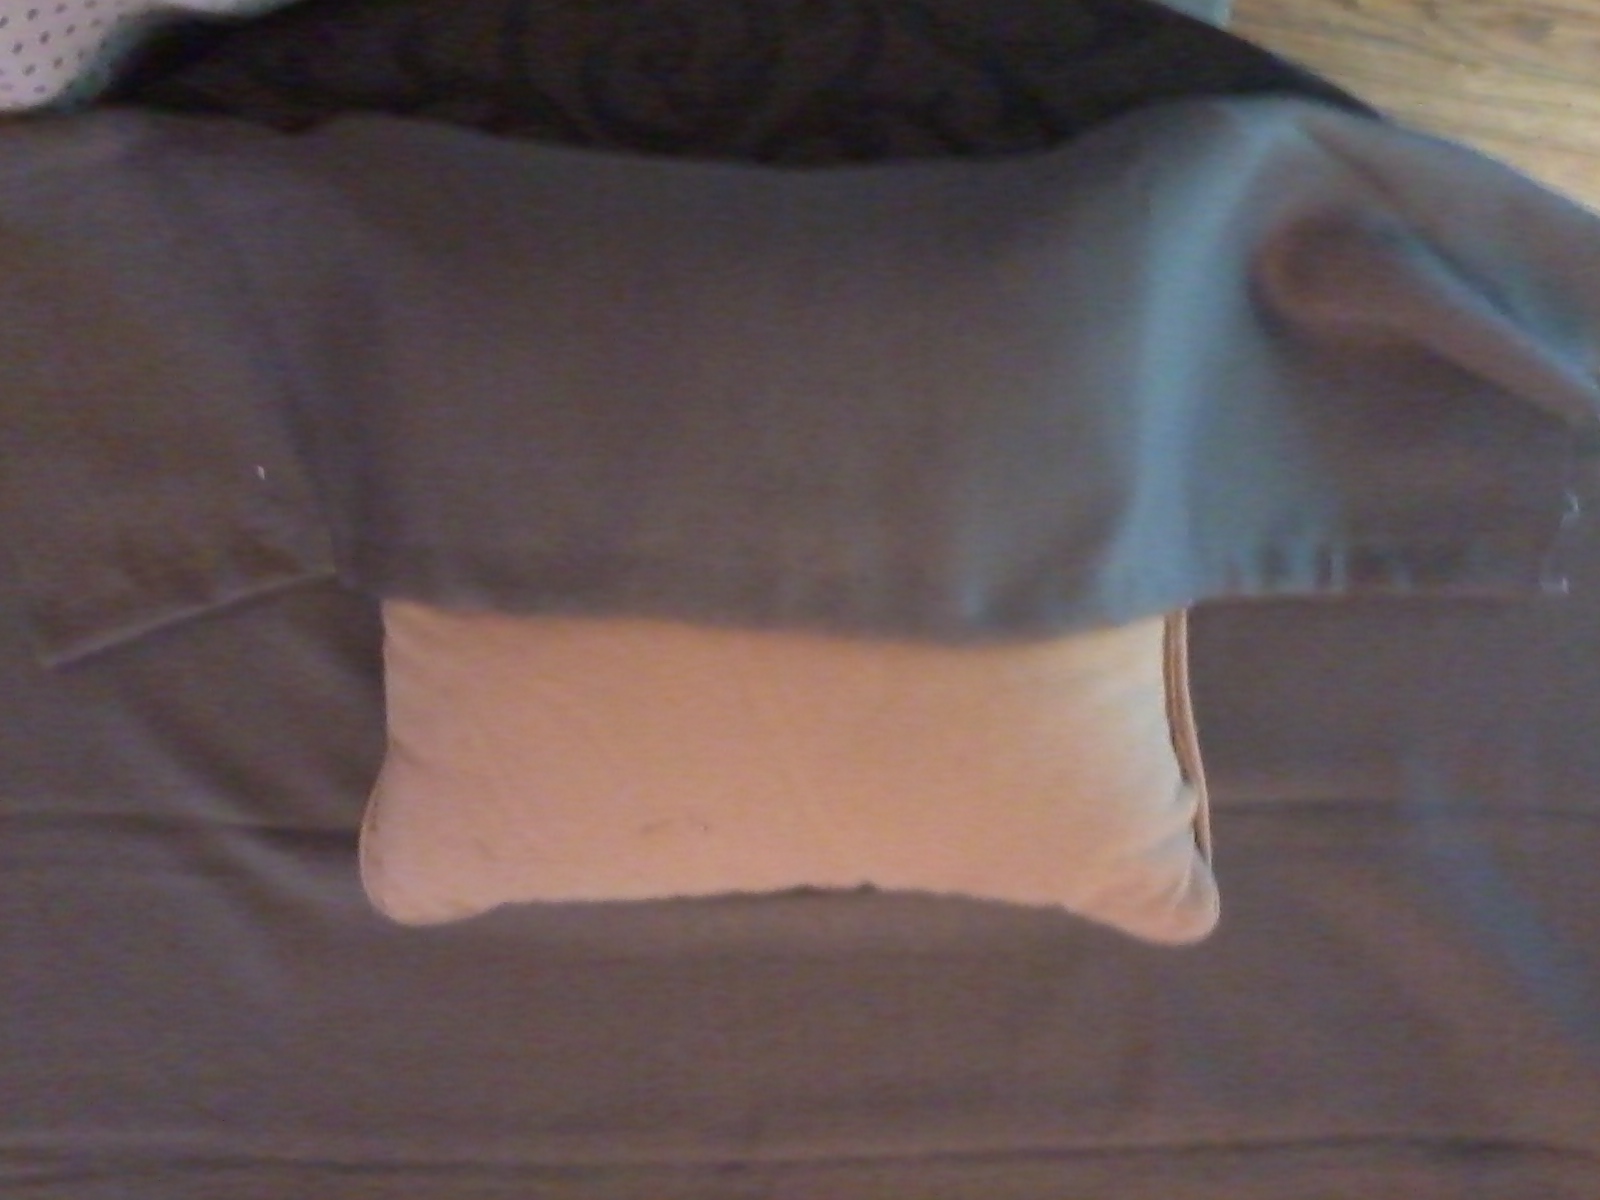
3. Cover half the pillow length wise.

4. Cover the other half length wise.

5. Fold one corner across the pillow diagonally.

6. Pinch the fabric one fold at a time.

7. This is what it should look like when are done with one side.

8. Tie all the folds together, leaving extra space for the other side.

9. Create the same folds on the other side and tie together.

10. This is what it should look like...you're almost done!

11. With the material for the flowers, cut the fabric into strips. Create your center by twisting the fabric and continuing to twist the fabric as you go. Twist and Turn.
Note: For a bigger flower twist loosely.
For a smaller flower twist tightly.


11. This is what it should look like.

12. Once you have your flowers you can start pinning them onto the fabric. Pin from underneath so the pin is not exposed.

13. One down, two more to go...you are done!
Looks complicated but its super easy. Give it a try and let me know how it turned out.
So what do you think of my First DIY tutorial?
Really cute :D
ReplyDeleteAwww thanks.
ReplyDeleteI found this site while I was checking my wedding blog. You may want to check it out for your blog. The prices look really good. http://www.simplybridal.com/shop/veils-1
ReplyDeleteCool. Thanks for sharing. Will have to check it out.
ReplyDeleteGoing to make one.. Thanks for sharing.
ReplyDelete